Connect Jira
One connector names one Jira Cloud site.
Jira Data Center and Jira Server are not supported.
Heplon can authenticate in two ways. Pick one before you start.
You need the Organization admin role in Atlassian Administration.
1. Find the cloud ID
Sign in to admin.atlassian.com. In the sidebar, open Apps → Sites and select your Jira site.
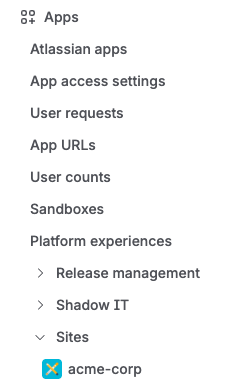
The cloud ID is the string after /s/ in the address bar:
The cloud ID is a UUID. Do not use the organization ID from admin.atlassian.com/o/....
2. Create the service account
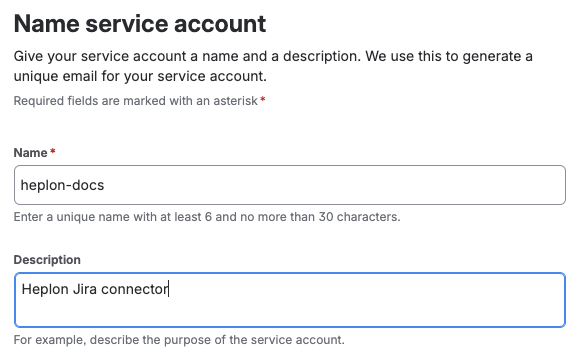
In the sidebar, open Directory → Service accounts and select Create a service account.

Give it a name like heplon-docs and select Next.
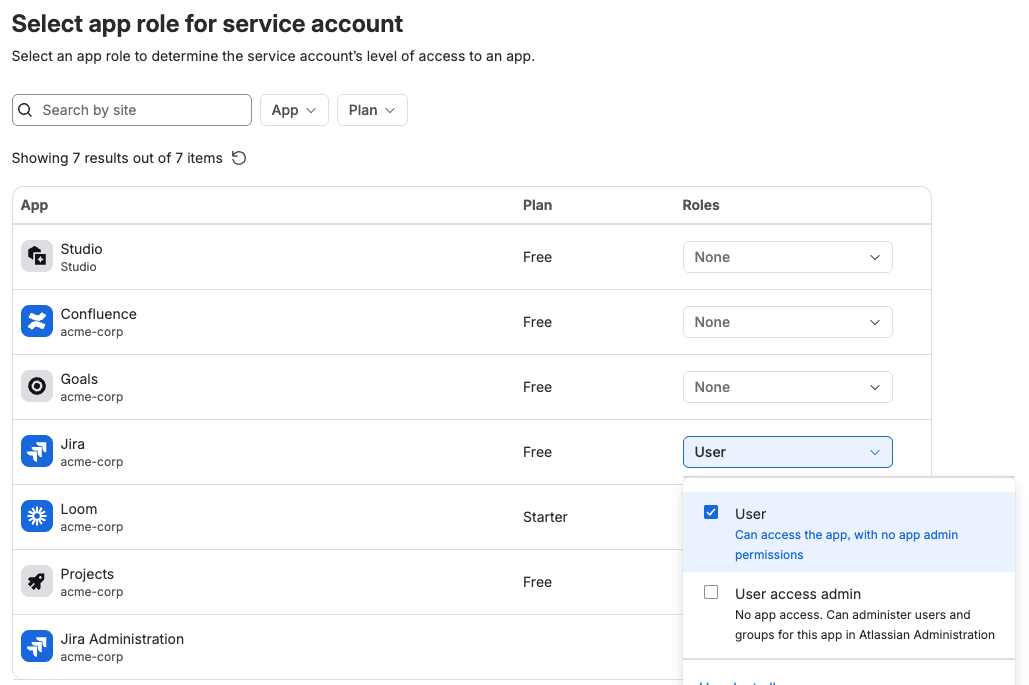
On Select app roles, set the role of your Jira site to User. Leave every other app at None. Select Create.
An organization gets 5 service accounts for free. More need Atlassian Guard.
3. Create the credential
Scopes
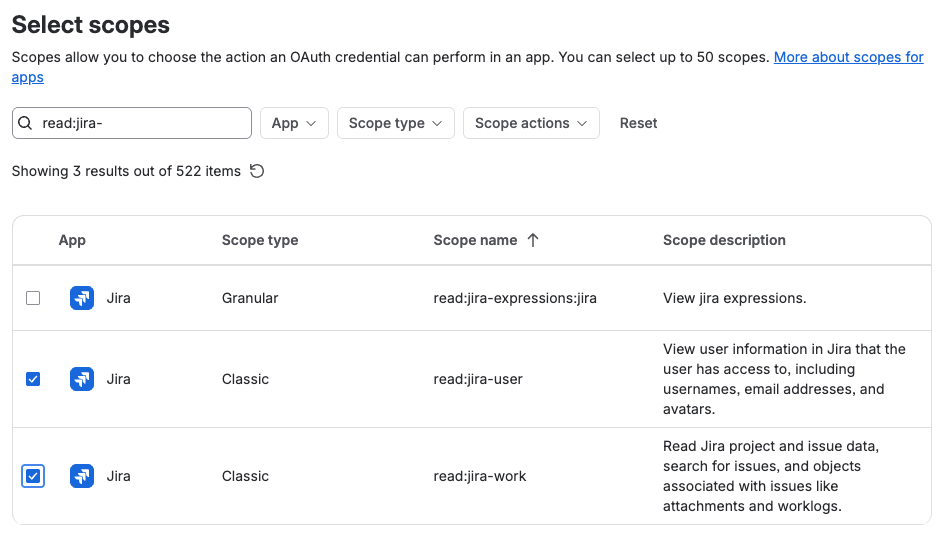
Both ways need the same two classic Jira scopes.
Create it
On the new service account, select Create credentials.
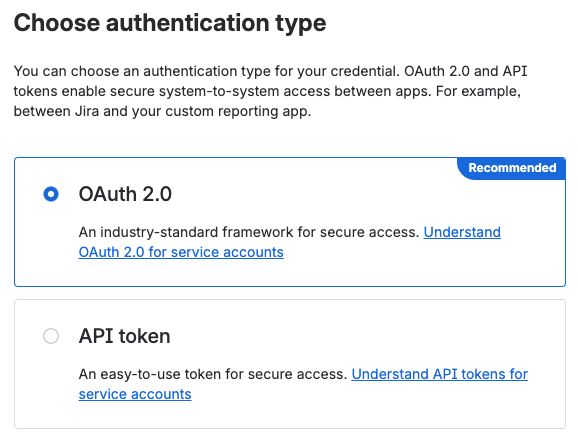
Way 1: OAuth client credentials
- Select OAuth 2.0, then Next.
- Give the credential a name, for example
heplon, and select Next. - Search for
read:jira-and tick the two scopes. Select Next, then Create.
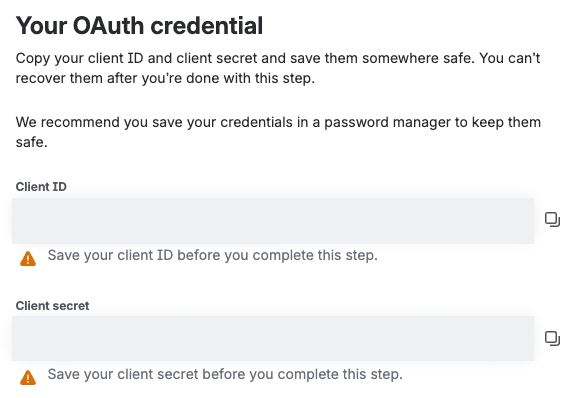
Copy the Client ID and the Client secret. Atlassian shows them once.
Way 2: API token
- Select API token, then Next.
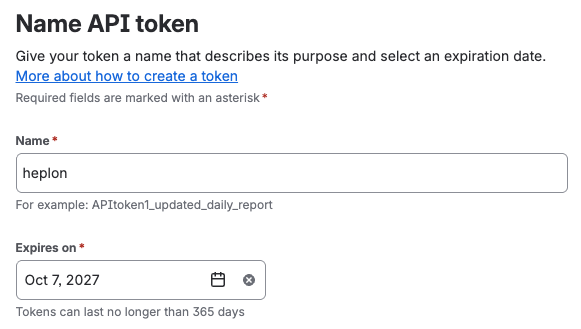
- Give the token a name and an expiry date, and select Next. The token lasts at most 365 days.
- Search for
read:jira-and tick the two scopes. Select Next, then Create.
Copy the token. Atlassian shows it once.
4. Add the connector in Heplon
In Heplon, open Connectors.
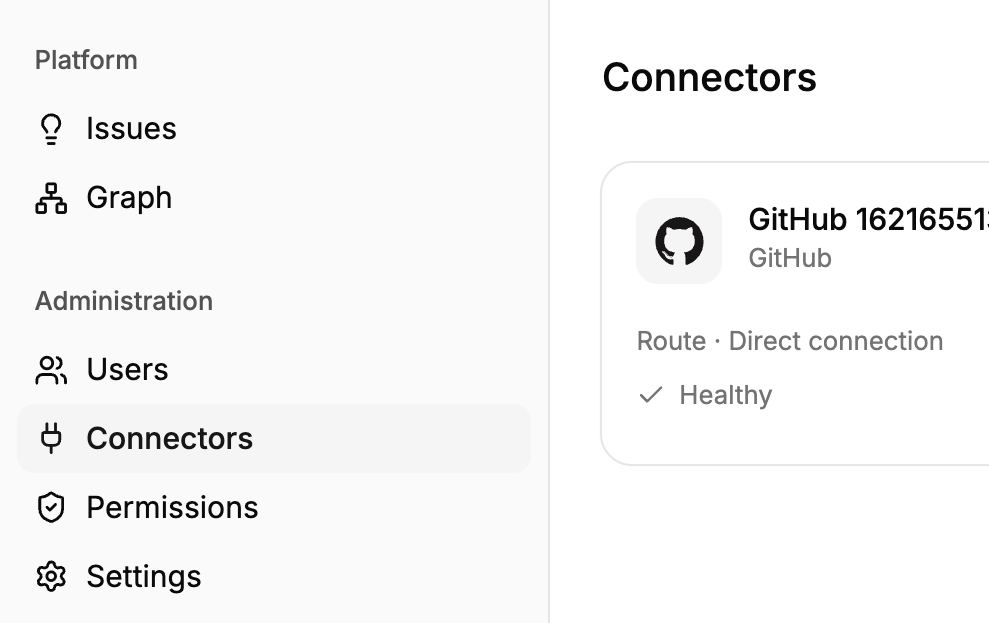
Select Add connector, in the top right.

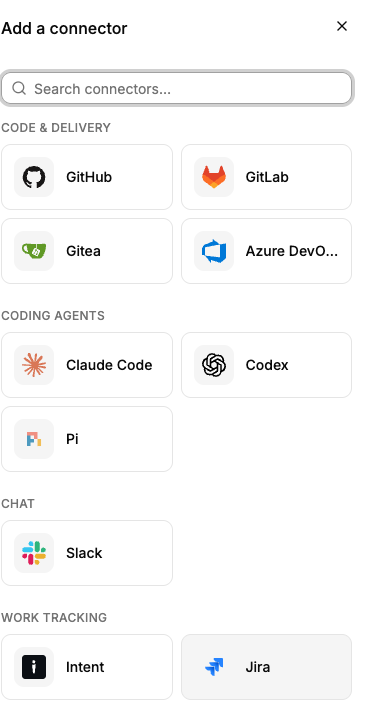
Select Jira, under Work tracking.
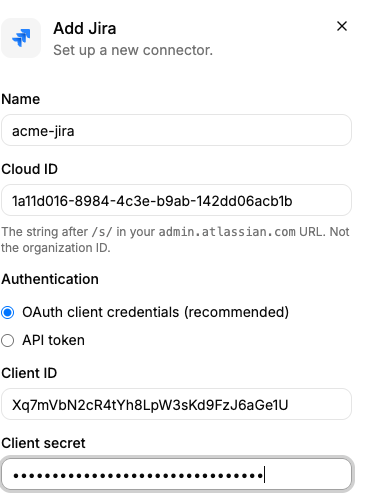
Fill in the form.
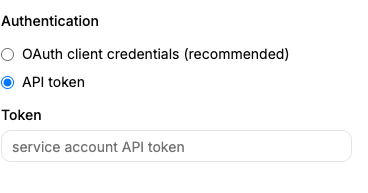
With API token selected, the panel shows one Token field instead.
Select Add connector. Heplon does not call Jira when you save.
5. Check the connector
The Connectors page checks every connector when it opens. The Jira card shows Healthy when Heplon reaches Jira with the credential.

Jira is now connected to Heplon.